
9 Kings Beginner's Guide & Tactical Tutorial
Welcome to 9 Kings, Sad Socket & Hooded Horse’s roguelike kingdom builder. While the game features an intuitive 3x3 grid, victory requires mastering tactical geometry, the core Rule of Two, and compounding adjacency modifiers.
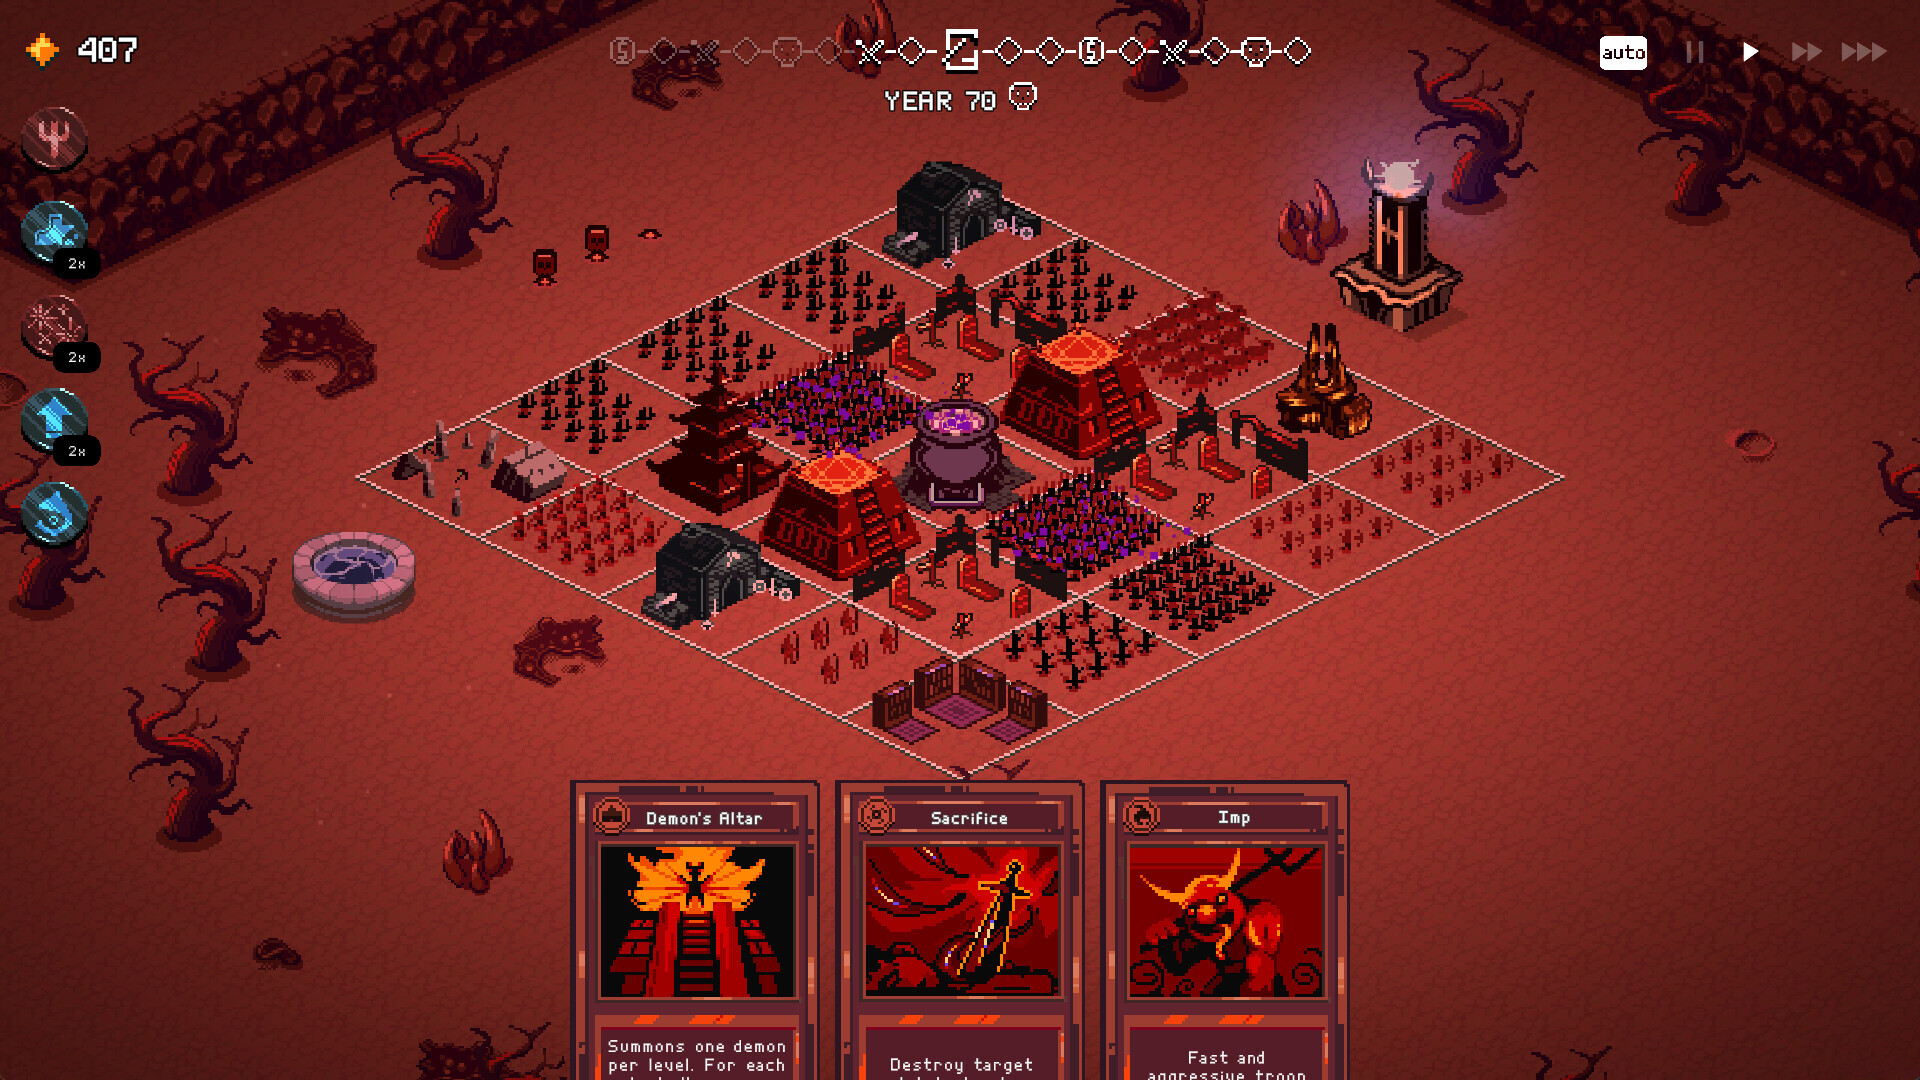
1. The Core Game Loop: Draft, Slot, Defend
Each campaign run in 9 Kings spans up to 20 "Years" (rounds). Every year cycles through distinct tactical phases:
- Drafting & Hand Phase: You draw a hand of cards representing units, fortifications, or permanent enchantments.
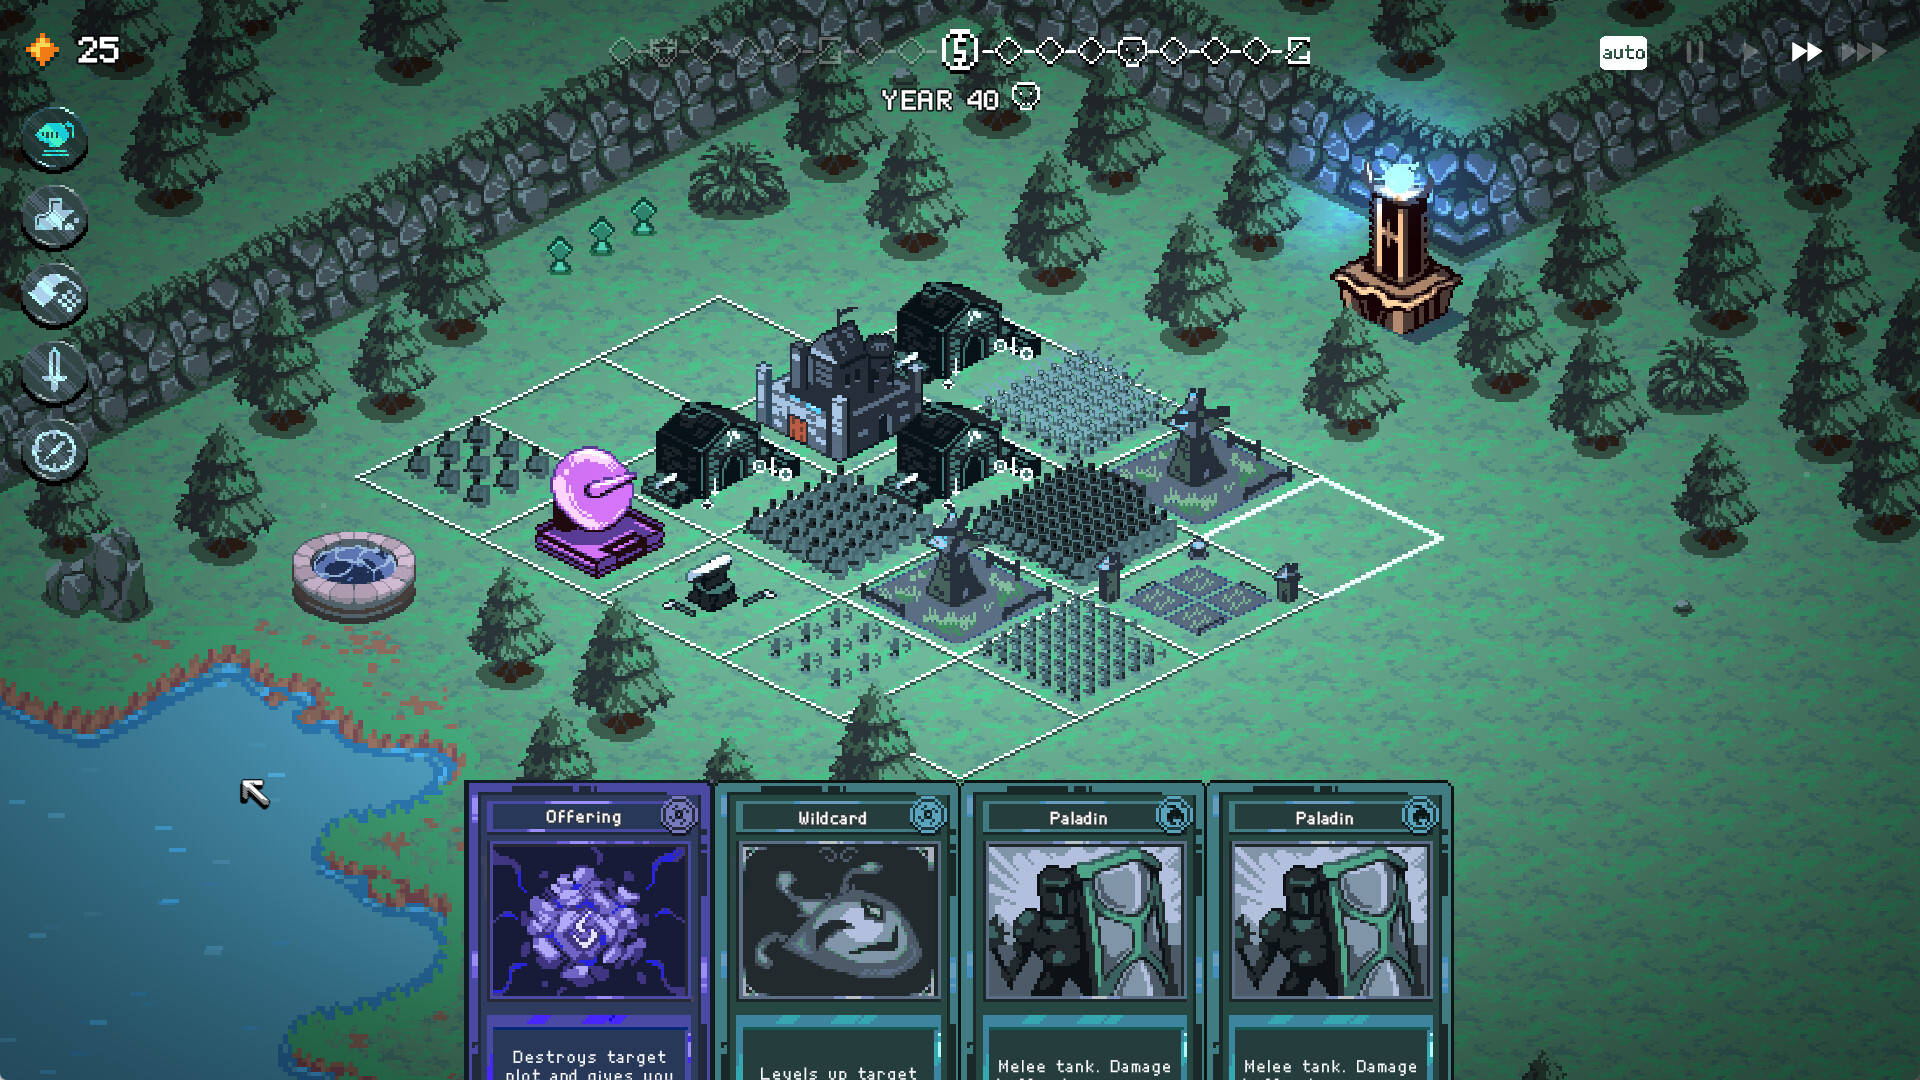
- Grid Deployment (The Rule of Two): Drag and drop cards onto your 3x3 territory to deploy new troops or reinforce existing plots until exactly two cards remain in hand.
- Automated Combat Phase: Hostile armies sent by neighboring monarchs attack. Combat is automated, but your tactical placement and active decrees dictate who survives.
- Harvest & Diplomacy: Earn gold bounties, draft off-faction loot from defeated kings, and prepare for upcoming council years.
2. The "Rule of Two" Explained
Unlike conventional deckbuilders where you aim to play your entire hand, 9 Kings enforces the Rule of Two. During the building phase of every year, you are required to play cards onto your grid until you have exactly two cards left in your hand.
Always plan your moves before dropping your first card. Identify which two cards you want to preserve for future turns or combine with upcoming off-faction loot.
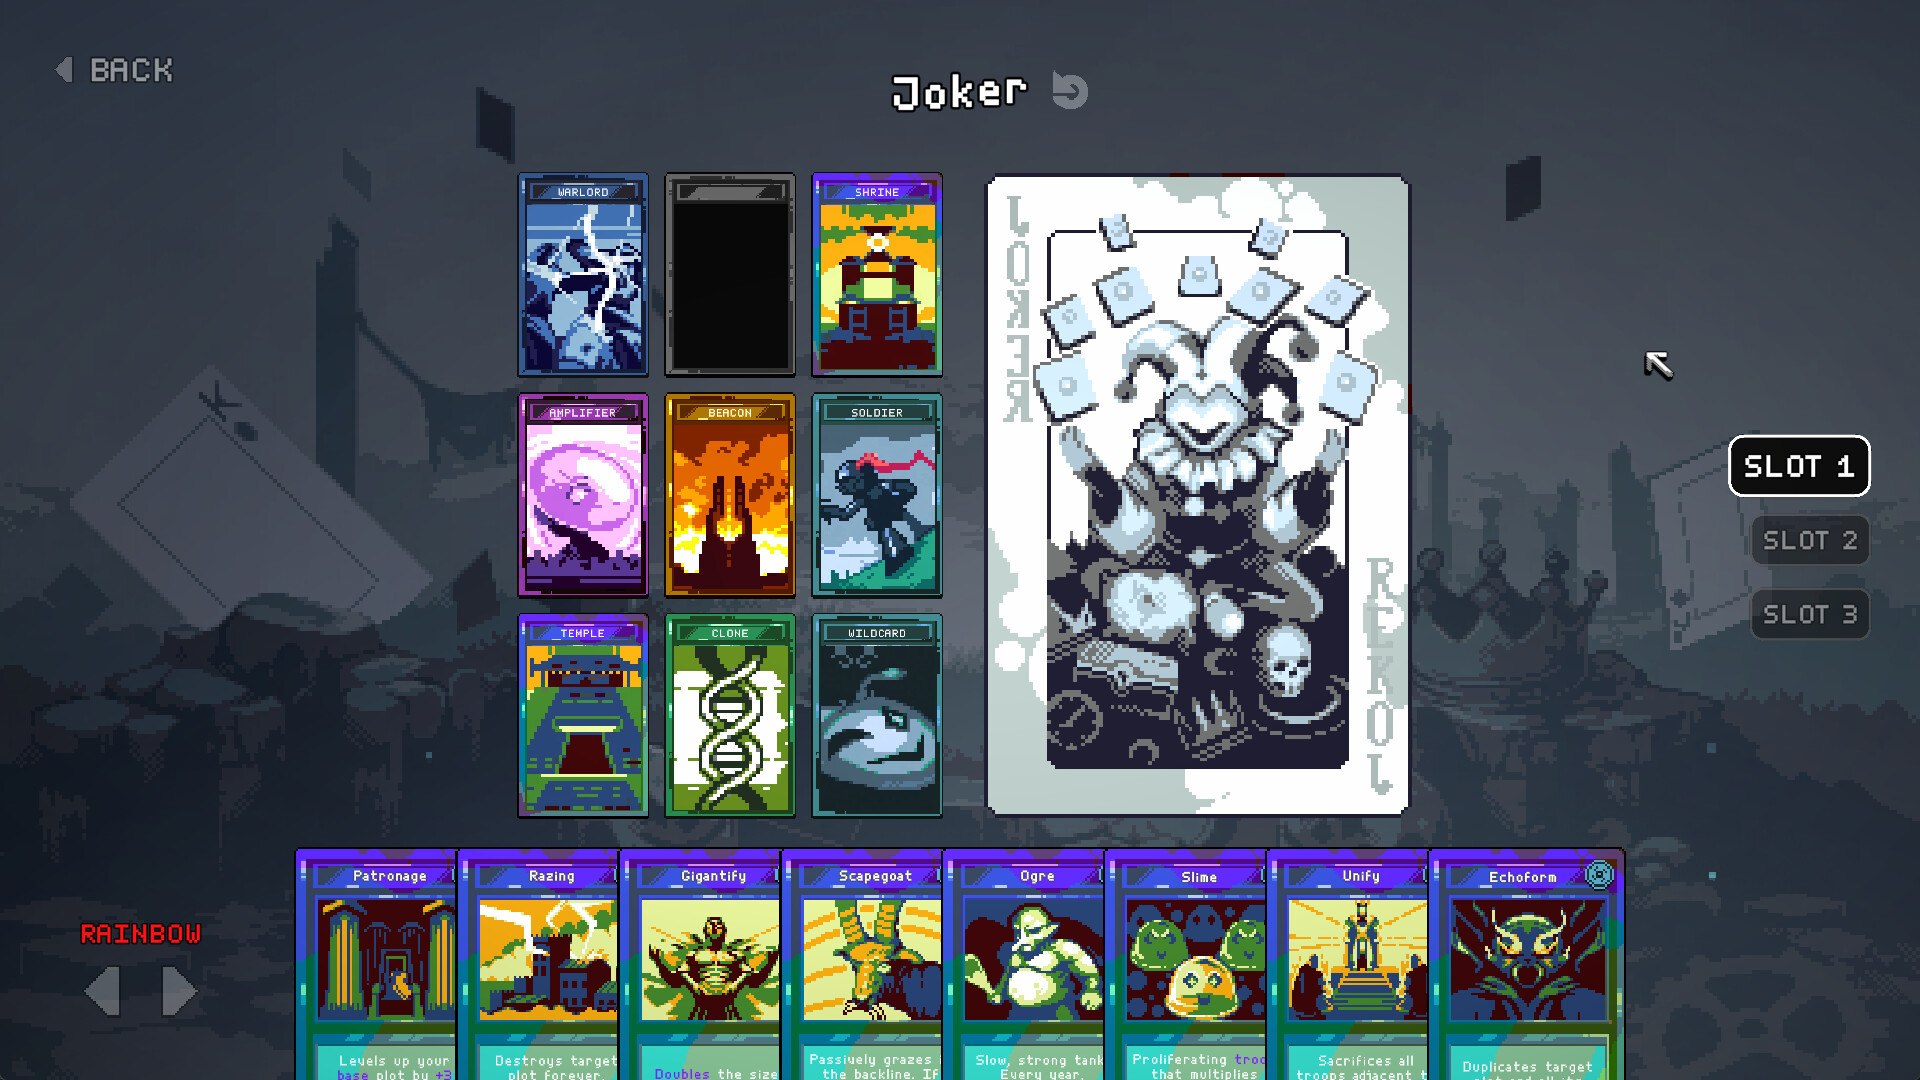
3. Crownlands Starter Trinity (Core Collectibles)
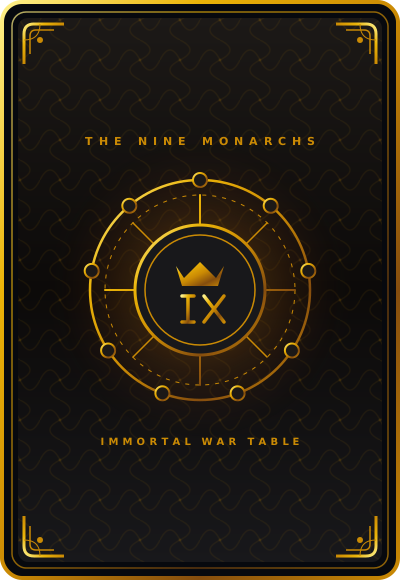
Hover to tilt • Click Flip ↻ to inspect reverse runes & card seal
Every beginner starts with the Crownlands faction (King of Nothing). These three cards form the immutable foundation of early survival:
Stalwart Footman
Disciplined infantry trained to hold the front line with shield and spear.
"No titles, no magic, just cold steel and standing shoulder-to-shoulder."
Stalwart Footman
Pro Strategy: Place in Tile 2 or 8 to protect your Citadel or ranged units behind them.
Slot in Tile 2 or 8 to absorb early scout charges.
Blacksmith
Forges tempered plate and razor weapons, significantly empowering all 4 orthogonal neighboring units.
"The anvil rings with the rhythm of empire."
Blacksmith
Pro Strategy: Tile 5 is the optimal placement for Blacksmith. It boosts Tiles 2, 4, 6, and 8 at the same time.
Radiates +35% ATK & Armor to all 4 orthogonal plots.
Paladin Champion

The pinnacle of martial chivalry. Radiates an unyielding holy aura that cleaves enemy columns.
"A wall of stone may crumble under siege engines, but righteous conviction is unbreakable."
Paladin Champion
Pro Strategy: The cornerstone of the viral Paladin Wall meta! Placing a Blacksmith in the middle tile doubles Paladin HP and damage simultaneously.
HP naturally compounds whenever its ATK is raised.
4. The 3x3 Grid Geometry & Adjacency Bonuses
Your kingdom consists of exactly 9 tiles arranged in a 3x3 square. Almost every advanced card features an Adjacency Synergy that buffs neighboring tiles along orthogonal axes (Up, Down, Left, Right):
Tile 5 touches 4 adjacent plots (T2, T4, T6, T8). Corner tiles touch only 2.
Because Tile 5 touches four orthogonal neighbors, placing multiplicative support cards here (such as the Arcane Library, Beacon, or Blacksmith) yields double the numerical value compared to placing them in corner tiles.
5. Years 1 to 20 Enemy Wave Progression & The Year 7 Wall
Campaign runs in 9 Kings test whether your 3x3 territory scales faster than the escalating invasion waves. Here is the field-verified survival timeline:
The Vanguard Skirmishes
Standard light infantry marching in two staggered columns. Enemy HP scales from 80 to 180.
- ✓Deploy 1-2 frontline infantry units (Footman, Sellsword, or Boar) in Tile 7, 8, or 9.
- ✓Do not spend gold rerolling for rare capstone cards; save at least 20g for early compounding.
Tile 8 with basic melee defender; Citadel safe in Tile 2.
The Cavalry Outflank & Royal Council
Enemies gain +35% movement speed and attempt to bypass central defenses to strike outer towers directly.
- ✓Draft your first S-Tier decree (Overwork, Bunker, or Development) at Year 4.
- ✓Place a Blacksmith or Beacon in Tile 5 to start broadcasting cross-pattern buffs.
Tile 5 with Blacksmith or Beacon; Tile 4 & 6 with flanking defenders.
The Armored Battering Ram (The Year 7 Wall)
The infamous filter wave that wipes 90% of King IX attempts. The Iron Ram charges with high inertia, ignoring crowd control and dealing 400 damage per ram strike.
- ✓Burst damage over passive engines: Use Paladin Champion buffed by Blacksmith, or apply Combustion enchantment from Spells.
- ✓Avoid the Level 1 Library trap: If you deployed a passive building in Tile 5 without sufficient DPS, the Ram will breach in 5 seconds.
Tile 8 Paladin Champion with Combustion or high-damage Wizard in Tile 7/9.
The Long-Range Siege Bombardment
Enemy units now attack from long range, bombarding your backline structures (Citadel and Libraries) while shielded infantry pin your frontliners.
- ✓Deploy fast cavalry (Steppe Raiders) or high-range snipers to eliminate trebuchets before they land 3 shots.
- ✓Activate Bunker decree or Stone Shield to mitigate area splash damage.
Staggered positions; Citadel protected by surrounding high-HP stone buildings.
The Tyrant Champion Cohorts
Enemies possess dual physical and spell shields, requiring mixed damage compositions or true damage mechanics to penetrate.
- ✓Amplify attack speed: Pair Beacon with Amplifier to reach 8+ attacks per second.
- ✓Use Gold Dispensers or Chain Lightning cascades to strip shields in the first 2 seconds.
Center Amplifier (Tile 5) cross-feeding Beacons and Gold Dispensers.
The Prophet Awakening & Undead Lich Swarms
Massive wave density with over 300 enemy combatants per year. Corpse rot mechanics spawn hostile ghouls if casualties are unharvested.
- ✓Exploit the Year 16 Blessing: Station your best cards on prophesied plots to duplicate them via Hegemony.
- ✓Incorporate Forgotten Cemetery or Sacrificial Altar to consume bodies before they turn into hostile thralls.
Fully upgraded 3x3 war board with 4x Nationalist perk multiplier active.
The Grand Tyrant Monarch (Final Confrontation)
The final trial of 9 Kings. The Grand Tyrant advances inexorably down the center lane, accompanied by continuous auxiliary waves from both flanks.
- ✓Overclocked single-target DPS: Gold Dispenser firing 15+ coins per second or Boar stampede with 20,000+ HP.
- ✓Stun locking: Static Charge enchantments and Chrono Stutter slow the Boss to a crawl while artillery melts their health bar.
The Paladin Wall or Beacon-Amplifier Loop in full endgame configuration.
6. First Run Walkthrough: King of Nothing
For your first campaign, choose the King of Nothing. This monarch gives you stalwarts, archers, and high baseline physical defense without complex elemental upkeep:
- Year 1: Place your Royal Citadel in Tile 8 (rear-center) and your Stalwart Footman in Tile 2 (vanguard). Keep two spare cards.
- Year 2: Add Longbowman to Tile 7 (rear-left). Footmen will draw initial aggro while your archer deals unhindered piercing damage.
- Year 3: Drop a Blacksmith in Tile 5 (center). Its adjacency buff will boost both the front Footman and the rear archer simultaneously!
- Year 4: At the Royal Council, pick Bunker or Feast. Both will instantly double your combat effectiveness.
7. Council & Prophet Events Calendar
8. Top 5 Rookie Mistakes to Avoid
Mistake 1: Placing Citadel in the Forward Row
Your Citadel must survive. Placing it in Tile 2 or 5 invites direct enemy focus fire. Always anchor it in the rear row (Tile 8 or 7).
Mistake 2: Spending All Gold Every Turn
Banked gold earns interest and enables rerolls. Keeping a baseline of 20-30 gold provides flexibility when rare cards appear.
Mistake 3: Ignoring Off-Faction Drafting
Conquering rival monarchs unlocks their signature cards. Mixing Spells libraries with Nature beasts is how you build broken combos.
Mistake 4: Disregarding the Rule of Two
If you drop cards without counting, you may be forced to play a card onto an unwanted slot or lose your best drafted spell.
Mistake 5: Neglecting Tile 5's Multiplication
Placing a standard soldier in Tile 5 is a wasted opportunity. Always reserve Tile 5 for support structures that radiate orthogonal bonuses.
9. Frequently Asked Questions (FAQ)
What is the Rule of Two in 9 Kings?
During each year's building phase, you must place cards onto your 3x3 grid until exactly two cards remain in your hand. Those final two cards are carried over into the following year, where they can be combined into gold variants or preserved for future combos.
Why is Tile 5 (Center) the most critical slot on the 3x3 grid?
Tile 5 is the central intersection of the kingdom. It touches four orthogonal neighbors (Tile 2, 4, 6, and 8). Placing support structures such as the Blacksmith, Arcane Library, or Beacon in Tile 5 broadcasts multiplicative adjacency buffs to four units at once instead of just two on corner tiles.
How do I defeat the Year 7 Armored Battering Ram?
The Year 7 Ram possesses 2,800 HP and 60% physical armor, instantly destroying weak physical archers. Counter it with magic burst damage (such as the Combustion enchantment from King of Spells) or an armor-buffed Paladin Champion boosted by an adjacent Blacksmith.
When do Royal Council Decrees trigger?
The Royal Council convenes every 4 years: specifically at Year 4, Year 8, Year 12, and Year 16. S-Tier decrees like Overwork (support buildings trigger twice) and Bunker should be prioritized immediately.
Ready to test your kingdom layout?
Use our interactive 3x3 territory simulator to test adjacency buffs and calculate DPS.